
Character Consistency Prompt Workflow
Use one anchor reference, protected identity blocks, and scene-specific prompt layers to keep the same AI character recognizable across edits and new scenes.
 Lem Gen Team
A character consistency prompt works best when it behaves like a production system, not a spell. The goal is not to write one giant paragraph that somehow forces a model to remember everything forever. The goal is to separate identity from variation so that each new scene changes only what you mean to change.
Start at the Lem Gen homepage, review the portrait photography prompt hub for visual patterns, then open the image-editing Workspace with GPT Image 2 selected when you already have an authorized reference image. If you want a second model path for comparison, the Nano Banana prompt library is a useful supporting reference, but the workflow below stays model-neutral on purpose.
This guide shows how to build one anchor reference, write an identity lock, split scene variation into its own block, and diagnose drift without rewriting the whole prompt every time.
If the recurring character belongs on a publishing project, use this identity system first and then move to the AI book cover prompt workflow for shelf signals, title-safe composition, typography handoff, and print checks.
What character consistency actually means
Character consistency does not mean “the model always outputs the exact same face.” In practice it means the same person, mascot, or subject remains recognizable after you change pose, crop, lighting, clothing, background, camera angle, or scene action. That standard is high enough to matter for ads, storyboards, tutorial covers, and recurring brand visuals, but it is still realistic.
Many failures come from treating consistency as a style problem only. Style matters, but it is not the whole job. A scene can keep a soft editorial look and still lose the exact eyebrow shape, jawline, outfit anchor, logo placement, or signature accessory that makes the subject recognizable.
That is why the first useful question is not “which prompt is strongest?” The first useful question is what must stay fixed even when everything else changes?
Build one anchor before you ask for new scenes
Before you ask for alternate shots, build one anchor image that becomes the source of truth. It can be a portrait, a product mascot, a host image, or another subject whose identity matters across repeated scenes. The anchor should be clean, front-readable, and free of accidental clutter.
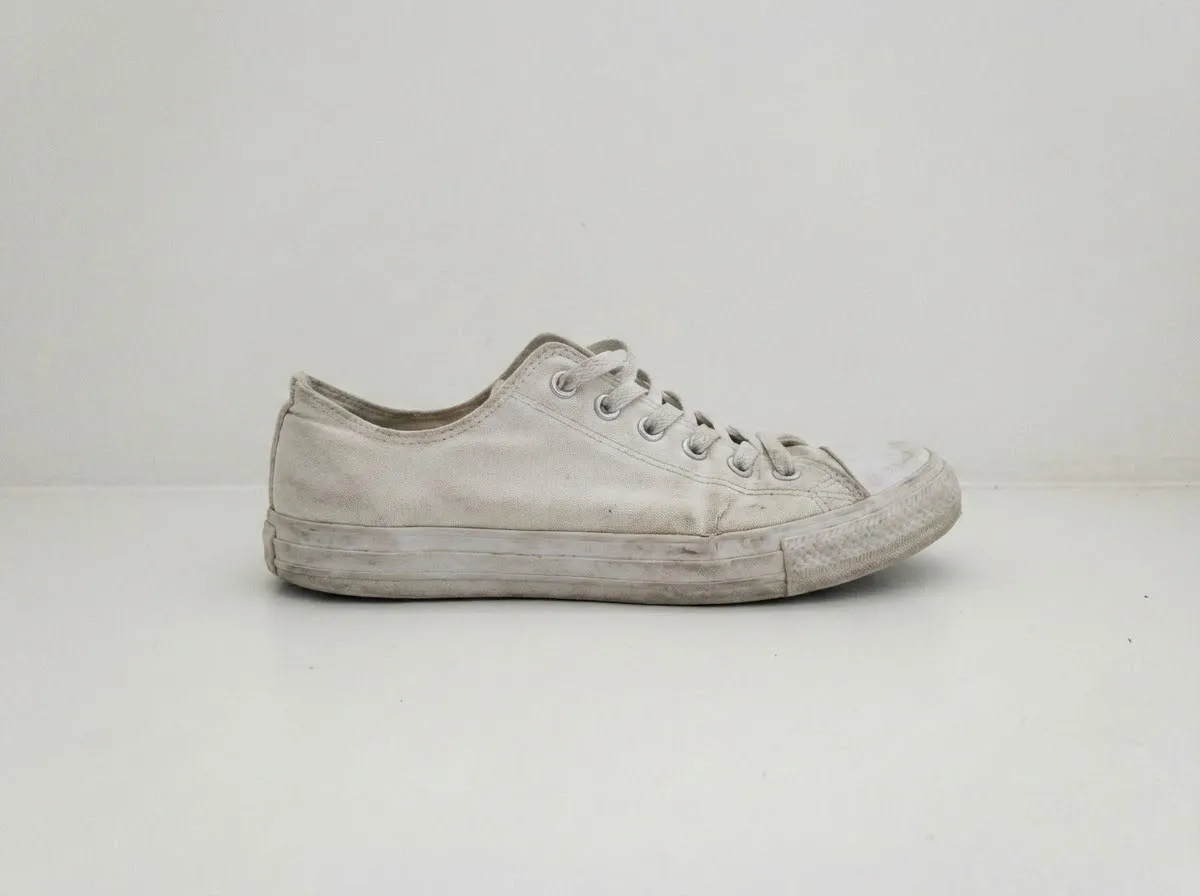
A stable anchor gives later prompts one clear identity source before you ask for action, atmosphere, or scene variation.
The same logic applies whether the subject is a person, illustrated character, or branded object:
- one anchor is easier to preserve than five conflicting crops;
- one anchor lets you identify which later change caused the drift;
- one anchor makes approvals easier because everyone reviews the same baseline.
If you do not yet have a good anchor, stop and make one first. You can still use the image-to-prompt workflow when the starting point is a finished image you need to analyze, but character consistency begins only after you have chosen the anchor you want to protect.
Write the identity lock before the scene description
The identity lock is the protected block. It describes the details that cannot wander without breaking the job. Keep it factual and visible. Do not start with vibes or camera jargon.
For a recurring person or character, the identity lock may include:
- face shape and proportions;
- hairstyle and hairline;
- skin tone and visible texture;
- eye shape, brow shape, nose profile, and mouth shape;
- body build and posture tendencies;
- stable outfit anchors such as jacket color, jewelry, glasses, or headwear;
- signature prop, badge, patch, or logo placement.
For a mascot or branded subject, it may include:
- silhouette;
- material behavior;
- proportion rules;
- color anchors;
- recurring accessory or package geometry.
Use a block like this:
IDENTITY LOCK
Use the uploaded anchor image as the identity source.
Keep the same face shape, brow shape, eye spacing, nose bridge, mouth width,
hairstyle, skin tone, and overall body proportions.
Keep the black bomber jacket, silver hoop earring, and red stitched shoulder
patch exactly consistent.
Do not redesign the subject, age them up or down, or replace the clothing system.
This is the opposite of “keep the character the same.” That sentence is too vague to debug. A protected block becomes useful because it tells you what was supposed to remain fixed.
Keep reference images sparse and purposeful
More images do not always create more control. They often create more conflict. One close crop may say “copy the face,” another may imply a different lens, another may show a different lighting direction, and another may contradict the outfit you actually want to keep.
Use the minimum set that answers the real job:
- one anchor reference for face or subject identity;
- one extra angle only if the main anchor hides an important feature;
- one outfit or prop reference only if it adds necessary detail the anchor does not show;
- one style or layout reference only if you clearly separate it from identity.
If the subject already exists and must remain recognizable, open the Workspace in image-editing mode with GPT Image 2 selected. If the task is looser and you want to compare how a different prompt style behaves, test the Nano Banana image-editor path in a separate run rather than mixing both prompt styles into one approval cycle.
Separate scene variation from identity
Once the identity block is stable, write the new scene as a different block. This is the biggest structural change most people skip. If identity and scene are mixed together, every revision forces you to touch the whole prompt.
A clean variation block answers four questions:
- what is happening now;
- where it is happening;
- what mood or production context you want;
- what may change without threatening recognition.
SCENE VARIATION
Place the same subject on a rainy night street outside a neon ramen bar.
The character is turning halfway toward camera while holding a folded umbrella.
Keep the scene cinematic and grounded, with wet pavement reflections and visible
background depth.
The environment, lighting color, and weather may change. The subject identity may not.
That structure helps because it leaves a clean boundary. If the scene is dull, you improve the scene block. If the face drifts, you strengthen the identity block. If you change both at once, you lose the diagnosis path.
Treat camera and crop as their own control layer
Camera instructions often cause hidden drift. A tight close-up, profile turn, overhead shot, or long-lens crop can make a face feel “different” even when the model technically preserved many of the same features. That is why crop and camera belong in their own layer.
Write camera and crop separately:
CAMERA AND CROP
Vertical 4:5 composition.
Chest-up portrait framing.
Eye-level camera with a slight three-quarter turn.
Leave clean negative space above the head for copy.
Do not crop hands into the face area or tilt the horizon.
This block is especially important for ad creatives, thumbnails, and storyboards where consistency fails not because the identity changed completely, but because the crop no longer matches the rest of the series.
If you want reusable camera structures, browse the portrait photography prompt hub and the GPT Image prompt hub. Use them as structural references. Replace the actual subject and business details before you generate anything.
Change outfits and backgrounds without rewriting the face
A common production need is not “same character, exact same clothes forever.” It is “same character, different wardrobe or setting, but still clearly the same person.” The easiest way to handle that is to define which clothing details are fixed and which are replaceable.
For example:
- fixed: haircut, glasses, skin tone, body proportions, scar, earring, watch;
- replaceable: jacket color, background, weather, seat position, handheld prop.
WARDROBE AND PROP RULES
Keep the same face, body build, hairstyle, and silver hoop earring.
Replace the black bomber jacket with a cream trench coat.
Add a plain canvas tote bag.
No extra jewelry, no hat, no printed text, and no second person in frame.
This allows controlled change instead of full prompt reset. It is the same principle used in the Nano Banana workflow: protect the subject first, then let the art direction move around it.
Use exclusions as failure controls, not as a giant blacklist
Negative prompts and exclusions help only when they are attached to real failure modes. Do not paste a hundred defects from another workflow. Block the mistakes that actually matter for your current series.
Good exclusions are specific:
- no extra fingers covering the face;
- no second earring when the anchor has one;
- no change to eye color;
- no beard added;
- no printed text on jacket;
- no duplicate subject;
- no age shift;
- no cartoon restyle if the target is realistic.
Weak exclusions are generic:
- no bad anatomy;
- no ugly;
- no weird;
- no low quality.
EXCLUSIONS
No second subject.
No added facial hair.
No different eye color.
No text or logo on clothing.
No hats, helmets, masks, or sunglasses.
No camera angle above forehead level.
No age shift, ethnicity shift, or body-shape redesign.
These lines matter because they map to approval criteria. The model is not “wrong in a general way.” It failed one visible rule.
Diagnose drift instead of making the prompt longer
When a result drifts, the worst reflex is to add adjectives everywhere. More words are not the same as better control. First identify the largest visible mismatch:
- face drift;
- crop drift;
- outfit drift;
- lighting drift;
- pose drift;
- background drift;
- text or prop invention.
Then revise only the block responsible.
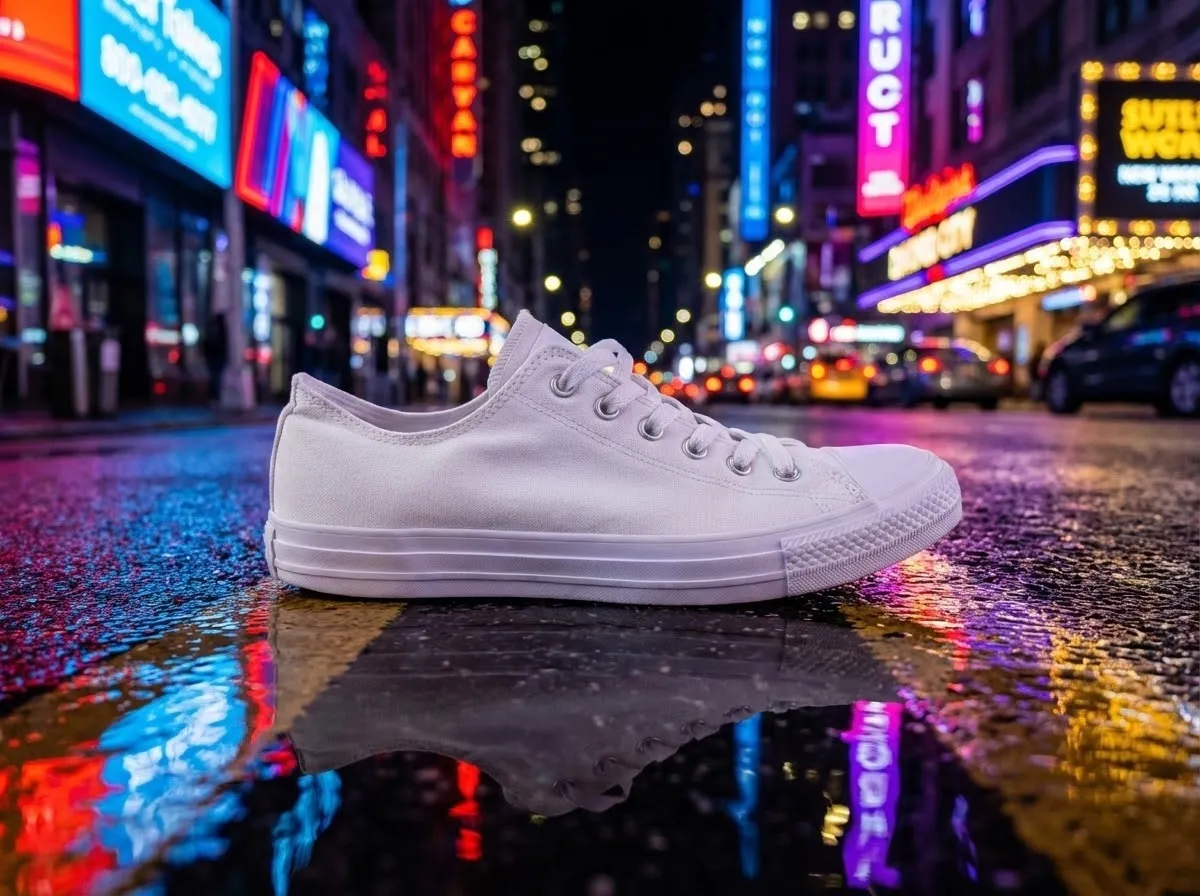
Controlled revisions work best when the anchor block stays stable and only the responsible scene or camera instruction changes.
A simple diagnosis table:
If the face drifts -> tighten IDENTITY LOCK
If the crop feels wrong -> tighten CAMERA AND CROP
If props keep appearing -> tighten EXCLUSIONS
If the atmosphere is flat -> improve SCENE VARIATION
If the outfit changes too much -> tighten WARDROBE AND PROP RULES
This turns consistency into a repeatable review loop instead of a superstition.
Five copy-ready character consistency templates
Use these as starting shapes, not as frozen formulas.
1. Same character, new background
Use the uploaded anchor image as the identity source.
Keep the same facial structure, hairstyle, skin tone, body proportions, and
black leather jacket.
Place the character in a quiet bookstore aisle at dusk with warm practical
lighting and soft depth in the background.
Vertical 4:5 chest-up framing, eye-level camera, clean space above the subject.
No second person, no glasses, no age shift, no printed text, no new accessories.
2. Same character, stronger action pose
Use the uploaded anchor image as the identity source.
Preserve face shape, brow line, hairstyle, earrings, and athletic build.
Show the same character stepping quickly across a crosswalk while looking over
their shoulder toward camera.
Wide editorial street frame with wet pavement reflections and motion energy,
but keep the subject sharply recognizable.
No duplicate limbs, no crowd overlap across the face, no new hat or backpack.
3. Same character, outfit change
Use the uploaded anchor image as the identity source.
Keep face, skin tone, haircut, body proportions, and silver hoop earrings.
Replace the jacket with a cream trench coat and dark knit top.
Portrait 4:5 crop, half-body framing, soft studio window light, neutral wall.
No extra jewelry, no text on clothing, no dramatic fisheye distortion.
4. Same character, stylized restyle
Use the uploaded anchor image as the identity source.
Keep the same face structure, hairstyle silhouette, eye spacing, and body
proportions while translating the image into a polished illustrated poster.
Use simplified shapes, bold rim light, and a clean editorial color palette.
Keep the expression calm and recognizable.
No exaggerated cartoon anatomy, no oversized eyes, no added props, no text.
5. Same character, thumbnail cover
Use the uploaded anchor image as the identity source.
Keep the same face, hairstyle, glasses, and yellow jacket.
Create a chest-up YouTube-style thumbnail with strong subject separation,
clean top-right copy space, and bright contrast.
Direct eye contact, simple background, highly readable silhouette.
No extra hands near the face, no second subject, no tiny background clutter.
Review the result in one short loop
The shortest useful workflow looks like this:
- choose one anchor;
- write one identity block;
- write one scene block;
- write one camera block;
- add real exclusions;
- generate one baseline;
- revise only the failing block.
That loop matters more than any single adjective. It also scales better to teams. When someone asks why one scene was approved and another was rejected, you can point to the exact block that changed.
Rights, approvals, and model choice
Character consistency work often uses sensitive material: client portraits, creators, presenters, athletes, or brand mascots. Public availability is not enough. Use only images you are allowed to upload and regenerate.
Within Lem Gen, the practical decision is simple:
- use image-editor with GPT Image 2 selected when you already have an authorized anchor and want a direct edit-oriented workflow;
- use image-editor with Nano Banana Pro selected when you want to compare a different prompt style against the same anchor;
- use text-to-image with Nano Banana Pro selected only when the character is still being invented rather than preserved.
If you need to reverse-engineer a finished reference before you start the consistency cycle, keep the image-to-prompt workflow nearby. If the real job is more about commercial product continuity than a face or person, switch to the product-photo workflow instead.
Final checklist before you export
Ask these questions before you approve the shot:
- Is the subject still recognizable without reading the prompt?
- Did any protected facial, outfit, or accessory detail drift?
- Did the crop change the perceived identity?
- Did new props, text, or people appear?
- Is the scene change clear enough to justify a new image?
- Can you explain the change in one block instead of rewriting the whole prompt?
If three or more answers are “no,” stop adding prose. Re-anchor the subject, revise the responsible block, and run a cleaner baseline.
The shortest useful summary is this: character consistency comes from a stable anchor, a small protected identity block, and a separate scene block you can revise without disturbing the face. Use the Lem Gen homepage, inspect the portrait prompt hub, and then continue in the image-editing Workspace with GPT Image 2 selected. Save the version that stays recognizable, not the version that merely sounds more dramatic.
If the next step is motion rather than another still image, continue with how to make a GPT Image 2 character sheet before Seedance. That workflow turns the same identity logic into a pre-animation package so the later video prompt can focus on timing and camera movement.